//Google Analytics

Tuesday, April 30, 2013

Cook: Homestyle Baked Beans


If you're like my husband and I, you love cookout food! My husband absolutely loves having hot dogs, beans and chips for dinner. He'd do it al the time if I let him. That and spaghetti! Don't worry, we get GOOD all beef hot dogs, not processed mystery meat!

Speaking of hawdogs...


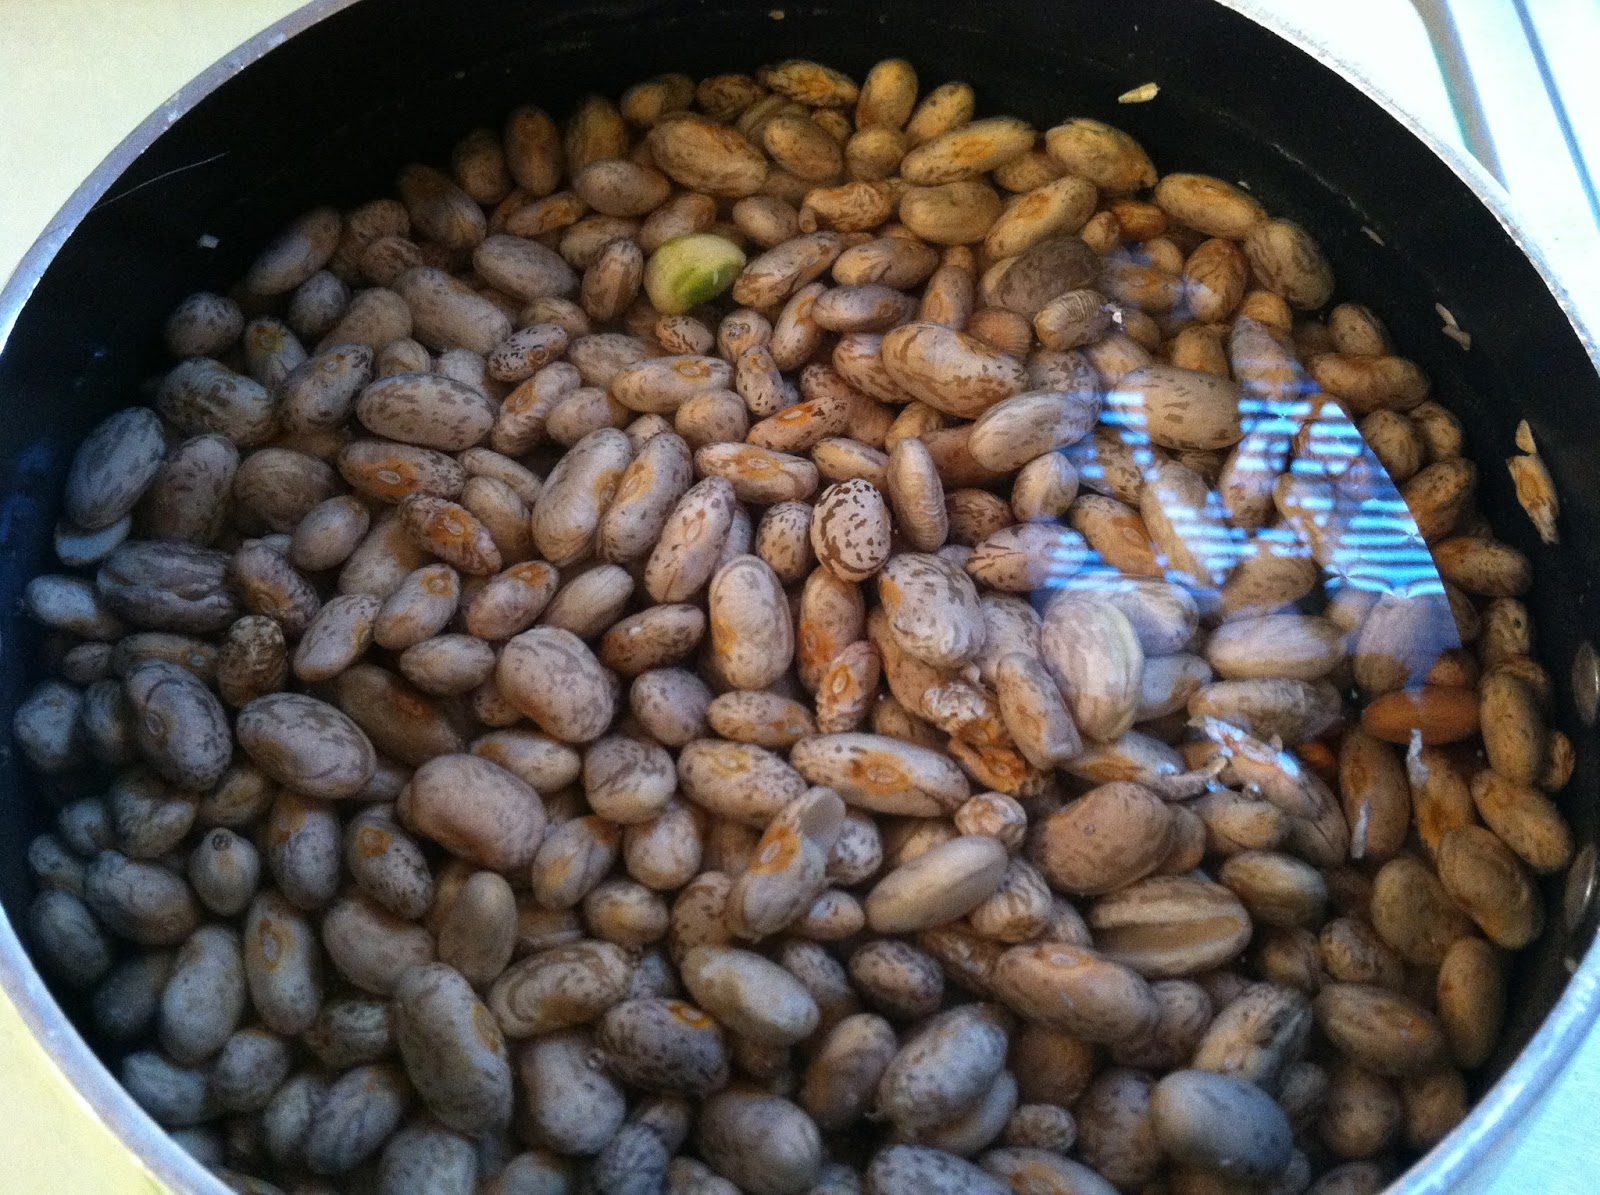
With that being said, hot dogs and beans go together. Baked beans are essential to a delicious cookout meal. I recently decided that I needed to attempt making them myself since buying the cans can get pricey. Buying dried beans is so much more economical, even if it does take a little more time. It's really not bad, though. You just have to soak them the night before you want to cook with them.

I found one set of recipes from Squawkfox. And another from AllRecipes. I used these as a starting point and threw things together to make it my own.

Ingredients:
  • 1lb of Navy Beans (about 4-5 cups dry)
  • 4 cups water
  • 2 chicken bouillon cubes 
  • 1 12oz can of tomato paste
  • 3/4 cup molasses (I used blackstrap but I'm not sure what the differences are)
  • 1-1/2 Tablespoons of salt
  • 1/2 teaspoon black pepper
  • 1 Tablespoon dry mustard
  • 1 Tablespoon onion powder
  • 6-7 strips of turkey bacon (or regular bacon if you prefer)

Directions:


Soak the beans overnight. Mine soaked for almost 14 hours. They over doubled in size in that time. General rule of thumb is that the longer you can soak them, the better. If you don't know much about cooking with dry beans, check out Squawkfox's post How to Soak and Cook Dry Beans. You should also check out her post 10 Reasons Soaking Dried Beans Can Change Your Life. Good stuff!


Strain your beans then put them into your slow cooker with about 4-6 cups of fresh water. Turn the slow cooker to high. 


There's some debate as to whether you should cook the beans in the water that they soaked in or not. I used fresh water. Anyone have a preference and why?


Fry or bake your bacon just before pouring the ingredients into the slow cooker. Or don't. The beans need to cook for so long that it doesn't really matter. If you start the beans and bacon at the same time, just toss the bacon in when you're done! Mine was cool by the time I was ready so I just ripped it into smaller chunks and tossed it into the slow cooker!

Dump all the ingredients into the pot, stir it up and cook on high for 6-7 hours or low for 10-12.


This was less than an hour into the cooking.


This is what it looks like about halfway. Stir every so often if you're around to do so and add more water as needed. Cook for 6-8 hours on high or 10-12 on low.


Serve and enjoy!


Towards the end do a few taste tests and add what you feel it needs. 


I think next time I'll make mine a little sweeter! But overall they were delicious and were a hit with my husband and a friend of ours!


Another great things about this is that there were a ton of leftovers! I divided the rest into 3 quart sized freezer bags for the next time my husband and I are craving hot dogs and beans!

These beans definitely take a long time, though. It's not a quick recipe, but it is easy! Mine cooked for probably close to 9 hours. They definitely weren't mushy like the canned baked beans but were still delicious! It's sometimes difficult to readjust to something when you're so used to the old thing!

All in all, I don't think I'll be going back to store-bought baked beans!

What's your favorite style of baked beans? Homestyle, country style, Boston? Do you ever cook with dried beans?

Till next time,
Catherine

Monday, April 29, 2013

The Walking Dead Workout-Season 3

Better late than never, here's the complete breakdown for season 3 of The Walking Dead workout!!

If you're unfamiliar with this workout, then start HERE.


Now play some reruns from your computer and get to work!


Here's a targeted workout breakdown. 

Season 3: 

Episode 1-Abs
Episode 2-Moderate
Episode 3-Moderate/Hard abs (14 minutes worth of planks!)
Episode 4-Abs/Moderate
Episode 5-Easy
Episode 6-Easy
Episode 7-Easy
Episode 8-Moderate
Episode 9-Moderate
Episode 10-Abs
Episode 11-Arms/Easy
Episode 12-Easy
Episode 13-Easy
Episode 14-Easy
Episode 15-Abs
Episode 16-Abs/Hard


Did I miss anything? If you watch through and catch anymore walkers or cries that I missed, please let me know! 

Till next time,
Catherine


Sunday, April 28, 2013

Jillian Michaels 30 Day Shred-Day 1

As you may remember, my husband and I recently re-watched all of The Walking Dead and did The Walking Dead Workout along with it. Ok, so we did MOST of the workouts! I'm not going lie to you guys!

I started the 30 Day Shred kind of on a whim so I was a bad blogger and didn't get "before" pictures or measurements. Oops. I don't think I'm brave enough to share that mess on the internet anyhow!

Don't run out and buy the DVD! Level 1 and 3 are on YouTube and Level 2 is on Vimeo!

My husband and I did record our weight and measurements not too long ago so I'll be using those to give you guys an average amount of pounds/inches lost through this program. 

Like I said, I just kind of picked this workout on a whim as something to get myself moving. I've heard of plenty of people using this program with fantastic results. A quick YouTube search will help you get motivated and inspired! 

All you need for this workout is a couple of hand weights. 2lb, 3lb, or 5lb depending on your current level of fitness. A yoga mat is helpful too but I think I'll be fine without one. 

You'll definitely be working, that's for sure! I was sweating in no time. She makes you move and keep moving for the entire time! You do a warm up of dynamic stretching and cardio then move right into strength. The entire workout is less than 30 minutes so the point is to give you a more intense workout in less time. She likes to say, "20 minutes with this workout is better than hours of phoning it in at the gym." It's closer to 30 minutes including the warm up and cool down. 

Her concept is a basic 3-2-1 premise. 3 minutes of strength training, 2 minutes of cardio, and 1 minute of abdominal exercises. This repeats 3 different times with different exercises for each circuit. There are three different levels and you do each level for 10 days or until you're comfortable moving on. There are no strict rules, just do it how you feel works best for your body!

I'm excited to stick with it and see some results!! Jump in and join me! 

Do you like Jillian Michaels? Have you ever tried any of her workouts?

Till next time,
Catherine


Thursday, April 25, 2013

My Other Container Plants

I recently showed you all how to make an awesome (and cheap!) pallet garden, well, I've also got a few things in pots that are growing on our patio! I've also shown you my container potato plants as well. I've also got a small pallet garden going with herbs but I'll have to share that on another day. 

Apparently I'm just never satisfied! I still want more food to grow! I'm thinking another strawberry plant and a couple blueberry plants...what do you think?


Actually before we made the pallet garden, we went to a local greenhouse and picked up a few plants and some seeds. The soil is the cheap stuff from Ollie's at $2 a bag! What a deal! Even if the quality of the soil isn't too great, I've got my worm farm to supplement it! 

The bag of seeds are Improved Tendergreen Beans. I never knew there were so many types of beans! I just picked the one that looked the most like the classic green beans I used to snap with my grandma. 


I got four Roma Tomato plants. I personally don't like tomatoes (I know, I know!) but my husband does so since he'll be eating them the most, he picked them out. I'll cook with them though!


And my little Allstar Strawberry plant! I can't even tell you how excited I was to get a strawberry plant! It's little, though...definitely think I should get another one. Or two...


Wittle baby strawberries!! They've almost doubled in size in just a couple of weeks!


Ready to plant!


Senor Strawberry seems to be settling in ok!


I doubled up the tomato plants so I didn't have to buy 4 pots. If they grow really large I'll repot them, though. 
Update: Lesson learned...tomato plants need lots of space! They won't thrive if they're crowded!


My little garden in the making! 

What are you growing in your garden?

Till next time,
Catherine

Wednesday, April 24, 2013

Bake: Herbed Wheat Buttermilk Biscuits

One of my favorite food bloggers is Rachel Cooks. If you've never seen any of her recipes, you need to check her out now! You can find the original recipe HERE. She posted this recipe recently and her biscuits looked so good I knew I had to try it! I used whole wheat flour in my recipe to make it a little healthier. They're so yummy! Fortunately I had the willpower to put them into the freezer before my husband and I ate them all fresh from the oven!

Keep reading for my version!


Ingredients:
  • 4 cups whole wheat flour
  • 4 teaspoons baking powder
  • 1 teaspoon baking soda
  • 1 teaspoon salt
  • 3-5 Tablespoons dried parsley and chives, whatever combo you want
  • 12 Tablespoons softened butter
  • 1 1/2 cups cold buttermilk
  • 2 Tablespoons of melted butter (for brushing biscuits with)

Directions: 

Preheat your oven to 450º F. 


Add all of the dry ingredients together in a medium sized mixing bowl. 


Mix them up.


Add in the wet ingredients. 


Mix well.


Roll it out onto a lightly floured surface. It should be about 1/2"-3/4" thick.


Use your cookie cutter...or in my case, jar lid, and cut out biscuits.


Form extras into dough and roll out again, messing with it as little as possible so you don't warm it up. 


Depending on how thick you make the dough, you can get anywhere from 10-24 biscuits. The original recipe got 8-9 3" biscuits but I made mine thinner and got 24.


Bake in the oven for 12-15 minutes or until golden brown around the tops and edges. If you have two sheets worth, be sure to rotate them halfway through so they both bake evenly. (Sorry for the blurry photos.)


Take them out of the oven and brush butter on the tops of each biscuit. As you can see, they all have character! 


And somehow I managed to get a few monster biscuits in there!


Drool.


These biscuits go well with everything! You could make them into breakfast biscuits, use Italian seasoning for a pasta dinner, add cheddar cheese....oh yum. I think I'll be adding the cheese next time! These biscuits are guaranteed to please either way!

What do you make with buttermilk? Do you have a family recipe passed down for the best biscuits or rolls?

Till next time,
Catherine

Tuesday, April 23, 2013

DIY: Worm Farm


In addition to my lovely pallet garden that we made last week, we also made a worm composting farm to partner up with our mini garden! This is something I've been wanting to try for a while now but I didn't want to start it until the temperature would be staying above freezing. 

Growing up out in the country, we always recycled everything and we always composted food scraps. Tossing food into the trash can was a huge no-no. Since being married it kills me to throw food in the trash can...it just seems so wrong. Now that we have hungry little composters, no more food will be wasted! Well, except dairy and meat of course. That stuff is no good for worms. 

I think I originally saw this idea on Pinterest but I can't remember for sure. I have an entire list of references at the bottom of the post so you can see all the awesome bloggers/vloggers who helped me figure this project out. 

All you need is:
  • 3 large plastic bins (anywhere from 10 gallon to 18 gallon)
  • A drill and drill bits
  • Newspaper (no shiny stuff)
  • Cardboard/old egg cartons
  • Coconut coir or peat moss
  • 500-1000 Red Wriggler Worms


Directions:


Gather your bins. I found two 10 gallon totes and one 14 gallon tote that fit together perfectly. 


This is how they'll fit together when I'm done. The top layer will house the worms and the scraps. The middle layer is for extra bedding but also for swapping when the top layer is full. The bottom layer is for the "worm tea" which is the liquid that drains from the compost. It's extremely beneficial for plants so don't toss it out!

The reason I bought two smaller bins and one larger bins is so that the bins with the compost in them will be elevated from the liquid in the bottom. You can get three bins of the same size but you will need to add a couple bricks or large rocks to elevate the top bins. Make sense?


I  had a couple of cardboard egg cartons so I ripped them into small pieces for more bedding for the wormies.


Brand new drill bit set and a drill that my aunt and uncle bought for us as a wedding gift! The drill set was only $14 on sale at Lowe's


One of the tutorials I watched highly recommended using coconut coir as bedding because it is pH balanced. Home Depot and Lowe's had them but I would have had to buy large bricks of it and I knew I wouldn't need that much. I found this planter liner at a local nursery for only $3. I'm sure you can find them in most nurseries and greenhouses. 


Newspaper too! These guys need a good foundation. 


Don't forget to paint a colorful sign on the side and be sure to paint it like a 7 year old would. Wait, I think that's just me. 


Get your drill bits out. We used a 1/8" bit for the sides and 1/4" for the bottoms. 


Start by drilling holes all around the top sides of the bins. There's no formula here. Just drill a ton of holes for ventilation! The size of the holes also isn't precise. I used a smaller bit for the sides to hopefully avoid any flying bugs invading the bin.


Drill these side holes in both of the top bins. Do not drill any holes in the bottom bin! 


 Now drill holes in the bottoms of the bins. Be sure to drill holes in the depressions where liquid is more likely to collect. 


Now lay a piece of newspaper in the bottom of the middle bin. This is just extra caution because I was worried the worms might fall into the bottom bin. They shouldn't do that though. 


I put some soil on top of it so that if they make it down to the middle bin they have something to live in and won't dry out before making their way back to the top. 


In the top bin, where the worms will go, I shredded some coconut coir fiber and added just regular potting soil. 


Then I added the torn cardboard. 


And shredded newspaper. 


Then I wet it all down. You want your bedding to stay moist but not soaked. The worms will try to escape if there is too much moisture. 


Now it's time to add your worms! I bought mine from Uncle Jim's Worm Farm. I received mine in about 3 days. They ship worms out on Mondays and it usually takes about 2-3 days so plan accordingly. You want your worm bin ready when they arrive. 


There they are! Wait...where are there?


I see a few of them. 


There they are! They were all clumped together after their long journey. They are shipped in dry peat moss so gently pour about 1/2-1 cup of water over them so they can return to normal. One resource I read said that you should give them 48 hours to settle in before feeding them. I gave them more than a day. I think they should have at least 24 hours to rest and get used to their new surroundings before bombarding them with work.


Their first meal consisted of coffee grounds and a banana peel! That's all I had at the time but they've gotten more goodies since. 

Side note: Starbucks gives away used coffee grounds for FREE so stop by and ask for some for your worm bin or compost pile! Waste not!


There you have it...an easy and cheap worm composting bin for your home! I'll write another post soon about the care and upkeep of your worm farm!

UPDATE 9/17/13: The worms are doing GREAT and working HARD! I've read that they double their population every 3 months so my assumption is that I've now got over 2000 worms turning my scraps into nutrient rich compost! It took a few months before they could handle consistent scraps but now that their numbers are so high, anything I put in there is gone in no time!

References: 


Does your family compost? Wouldn't it be nice to toss scraps to the worms instead of letting them stink up the trash can?

Till next time,
Catherine

I've linked up to {Wow Me} Wednesday #121 with Gingersnap Crafts